
Why Strong Horse Racing Form Can Still Be a Bad Bet
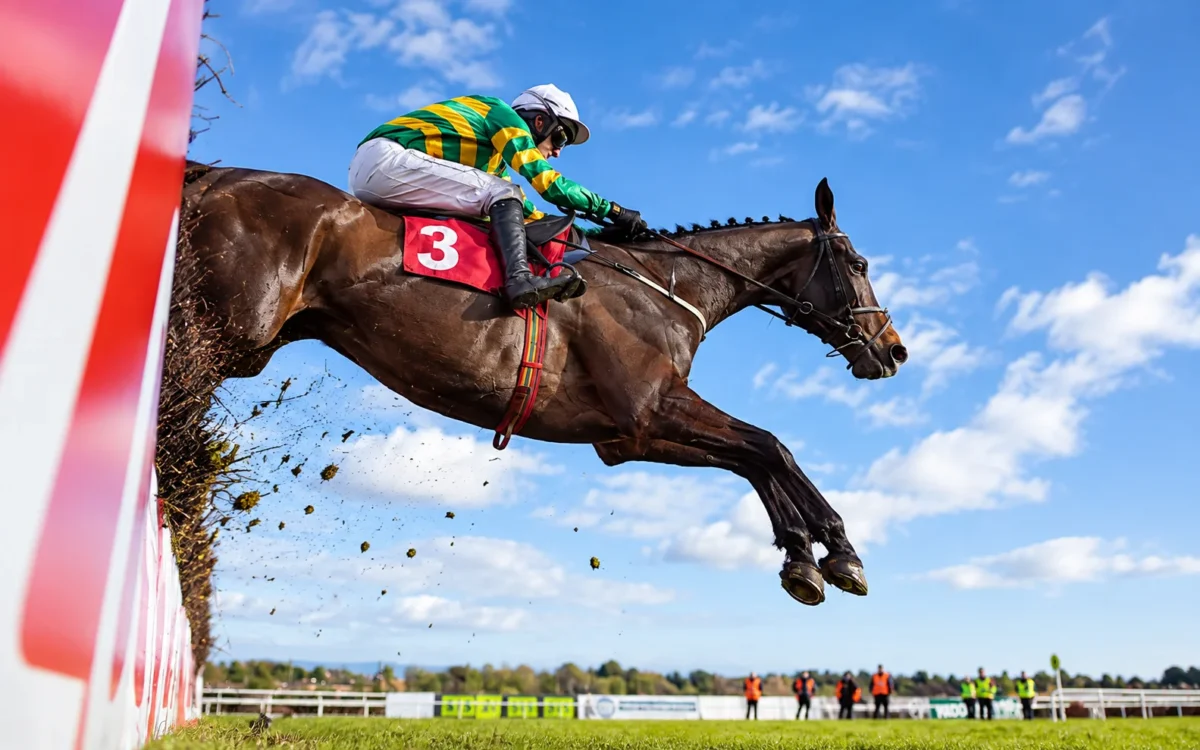
The Form Says It Wins. We Still Want to Know Where It Lands.
A horse wins its last two starts, draws barrier one and brings the strongest exposed form into the race. The market makes it favourite. On paper, it looks difficult to beat.
But where does it settle? What gets across it? Is there enough pressure to make the leader work? Does the horse need clear running at the right time, or can it make its own luck?
Those questions can change the assessment.
A horse can be the best runner in the field and still be the wrong bet at the available price. That does not mean we automatically oppose favourites or look for outsiders simply because the market prefers another horse. We assess the horse, the likely race shape and the price together.
The form tells us what a runner has already shown. The race map helps us assess what it may be asked to do today.
A Form Guide Tells You What Happened. It Does Not Tell You What Happens Next.
Look Beyond the Finishing Position
Finishing positions matter, but they do not tell the full story of a performance.
Two horses can both finish fourth and produce very different runs. One settles behind the leader, finds clear running at the right time and gets every possible chance. The other gets caught three wide, uses energy early, loses position at a critical stage and still finishes strongly.
Both get a 4 beside their name. The circumstances behind those results may be very different.
That is why we spend time watching race replays, trials and jump-outs. We want to understand how a horse travelled, whether it covered extra ground, how the tempo affected it and whether the finishing margin accurately reflects the run.
We also need to be careful about forgiving horses too easily. Being held up, racing wide or beginning slowly does not automatically mean a runner was unlucky enough to win. An excuse matters only when it genuinely affected the horse’s chance.
The same scrutiny applies to winners. A horse may lead uncontested, control the tempo and sprint home impressively. That performance deserves respect, but the next race may ask a different question if another runner contests the lead.
The result is evidence. The circumstances help us decide how much that evidence is worth today.
Barrier One Is Not Automatically Good. Barrier Twelve Is Not Automatically Bad.
Judge the Draw in Relation to the Horse
Barrier draws shape a horse’s options early in the race. They do not determine the result on their own.
Research involving Charles Sturt University examined 546 horses across eight flat race days when investigating how factors associated with the start of a race influenced finishing position. The study highlights why the circumstances around the start deserve consideration when assessing likely race performance.
An inside draw can save ground and help a horse hold a forward position. It can also leave a runner with limited early speed buried behind horses it cannot get around.
A wider gate may force a horse to work early or race without cover. However, a runner with genuine tactical speed may be able to cross, find cover or settle in a suitable position without using excessive energy.
When assessing a barrier, we consider the horse’s usual racing pattern, its ability to begin cleanly, the speed drawn around it and the distance to the first turn. We also look at the rider’s options. Can the horse push forward without doing too much work? Can it settle back and find cover? What happens if the first tactical plan does not work?
The draw becomes useful when we understand what the horse may need to do with it.
For a deeper explanation, read our guide to barrier draws and race maps in horse racing.
The Race Map Can Turn a Good Horse Into a Bad Bet
Position, Pressure and Energy
A race map is our best estimate of how the field is likely to settle. We identify the likely leaders, runners that may race outside the lead, horses looking for cover, midfield runners and those expected to settle further back.
Then we consider where the pressure may come from.
One genuine leader may be able to control the race. Several horses competing for the same position can create a different contest. That early pressure affects how much energy runners use and what options remain available later.
Consider a favourite that normally settles just behind the speed. If the runners drawn inside it have enough tactical pace to hold their positions, the favourite may have to work early, race wide or settle further back than expected.
It can still win. The question is whether the market has allowed enough for the additional difficulty.
We assess the likely sequence:
Barrier → tactical choice → settling position → energy spent → options late.
A horse may lose valuable ground or use too much energy in the opening stages without doing anything obviously wrong. Another may find a comfortable position and conserve energy for the finish.
Race maps are never guarantees. Horses miss the start, riders change tactics and unexpected pressure can alter the shape of a race. We are not trying to script every movement. We are identifying likely scenarios and the risks that matter to our assessment.
Tempo Is Where the Form Guide Can Get Turned Upside Down
Why the Expected Pace Matters
Tempo affects how much energy horses spend and when they spend it.
A slowly run race may allow horses near the lead to conserve energy before sprinting late. That can make life difficult for a backmarker trying to make up several lengths against runners that have done relatively little work.
A genuinely run race creates a different test. If the leaders face sustained pressure, they may have less left late, giving runners behind them an opportunity to come into the race.
But “fast tempo suits backmarkers” is not a rule to follow blindly. A backmarker still needs the ability to finish strongly, a suitable position and enough clear running to make up the ground. Track conditions, distance and opposition also matter.
We want to know whether the expected tempo suits the horse’s established racing pattern, not simply whether the race is likely to be fast or slow.
When the Leader Gets Everything Its Own Way
Think about a horse that produces its best performances when allowed to roll forward and control the race.
It draws well, brings strong form and faces no obvious early pressure. That may be a favourable setup.
Now place the same horse in a race with two other runners that also want the lead. Its historical form has not changed, but the likely demands of the race have.
It may need to work harder to lead, race outside another runner or settle behind horses when it would prefer to control the tempo. Any of those scenarios could affect its chance.
The important question is how well the horse has performed under similar circumstances before. A runner that has already shown it can absorb pressure may deserve a different assessment from one whose best performances have come from uncontested leads.
When a Backmarker Needs More Than a Strong Finish
A horse can flash home from the back and look like one of the strongest runs of the meeting. Before treating that finish as a reason to support it next start, we want to understand why it happened.
Was the race run hard enough to bring the leaders back? Did the horse save ground? Did it build momentum without interruption? Were the runners ahead of it tiring?
A strong final 200 metres can be impressive without guaranteeing the same result under different conditions.
If the next race is likely to be slowly run, the horse may have to sprint past runners that have conserved more energy. It may also need to make up the ground in a shorter period of time.
The finish matters. So does the race that produced it.
A Simple Race Map Example: Same Form, Completely Different Bet
Comparing Form, Likely Race Shape and Price
The following example is hypothetical. It illustrates how we assess race shape alongside form rather than treating a favourable map as proof that a horse should be backed.
Imagine two runners in a sprint.
Recent form gives Horse A an immediate point of interest, with two wins from its last three starts. By comparison, Horse B has remained consistent without winning and possesses enough early speed to settle in a forward position.
The market may naturally favour Horse A based on those recent results. The next consideration is how the race is likely to unfold.
| Assessment | Horse A | Horse B |
| Recent form | Two wins from its last three starts | Consistent recent runs without a win |
| Early speed | Limited early speed | Enough speed to hold a forward position |
| Likely settling position | May be crossed and settle behind other runners | May be able to find a forward position with cover |
| Main tactical risk | Could need clear running or lose momentum behind traffic | Could use too much energy if forced to compete for position |
| What needs checking | Whether previous wins came under similar conditions and how it handles traffic | Whether its ability and recent performances are strong enough to take advantage of the setup |
| Price question | Does the available price adequately reflect the risk of a difficult run? | Is the price attractive enough to compensate for any gap in ability or other weaknesses? |
The table does not establish which horse is better or which should be backed. We would still need to assess ability, distance, conditions, fitness, opposition and the available prices.
Suppose Horse A’s recent wins came from comfortable positions with little early pressure. If today’s map suggests it may be crossed and held up, we would question whether those performances are as relevant as the finishing figures suggest.
Now suppose Horse B has repeatedly shown it can hold a forward position, but its recent results came against stronger opposition or under unsuitable conditions. That may give us a reason to examine its form more closely. It does not prove that Horse B is the better horse.
The final decision depends on how those factors affect our assessment of each runner’s chance and whether the available prices justify the risks. Without actual prices and a complete form assessment, there is no responsible way to declare either horse the bet.
That is the value of the map. It helps us test the assumptions behind the form and the market price.
The Map Is Only One Part of the Race. And That Is Exactly the Point.
Connecting Race Shape With the Broader Assessment
A favourable map will not compensate for every other weakness. A horse may be outclassed, unsuited by the distance, lacking fitness or facing conditions it has not handled well.
We assess the track, going, distance, fitness, opposition, recent runs and trials alongside the likely race shape. The way those factors interact is often more useful than considering any one of them in isolation.
A horse may map to lead but be stepping sharply up in distance with pressure around it. A backmarker may finally get the stronger tempo it needs, only to face conditions that raise questions about its ability to produce its best.
Track layout also affects how a barrier may be used. The same draw can create different tactical demands depending on the distance, the run to the first turn and the speed of the surrounding runners.
Our guide to Australian racing conditions explains how track and weather factors fit into the broader assessment.
A good setup improves the case for a horse only when the rest of the evidence supports it. The available price then determines whether that case is worth considering as a bet.
What We Look for Before We Trust an Obvious Favourite
Turning Strong Form Into a Betting Assessment
Strong recent form gives a favourite a good starting point. It does not settle the betting decision. We want to know whether today’s race is likely to let the horse reproduce its best performance, and whether the available price reflects the risks.
We start with the runs behind the form figures. Did the horse control the tempo, receive cover or benefit from a race that suited its racing pattern? If it was beaten, did the circumstances genuinely affect its chance, or was another runner simply better?
Next, we map today’s field. We identify the likely early speed, estimate where the favourite may settle and consider what could happen if the expected position is unavailable.
We then assess the broader conditions: distance, track, going, fitness and the strength of the opposition. A favourable map is useful, but it cannot compensate for every other weakness.
Finally, we consider the price. A favourite may deserve to head the market and still offer little appeal if too many things need to go right. Another runner may have less impressive recent results but a setup that deserves closer attention.
Sometimes the analysis confirms the obvious horse. Sometimes it exposes risks the finishing positions do not show. And sometimes the prices leave no worthwhile opportunity.
The aim is not to oppose favourites or find a bet in every race. It is to understand the horse, the likely race shape and the price before making a decision.
The Horse Has Not Changed. The Setup Has.
Read the Race Before You Back the Horse
Strong form deserves respect, but the likely settling position, early pressure and expected tempo can change how confidently we assess a horse’s chance. The same applies to runners whose finishing positions may not reflect the full quality of their recent performances.
At Jig Racing, we bring those factors together with the broader form, conditions and price. We are not looking for a bet simply because another race is approaching. If the analysis does not support an opportunity, there is no need to force one.
If you want to see how we apply that approach, explore our Jig Racing packages and decide whether they suit the way you want to assess a race.
The Questions That Expose What the Form Guide Leaves Out
Can a Horse Have the Best Form and Still Be a Poor Bet?
Yes. A horse may have the strongest historical form in the race but face a difficult barrier, unsuitable tempo or tactical risks that reduce its chance of reproducing that form. The available price may also leave too little margin for those risks.
The best horse and the best bet are not always the same thing.
How Reliable Is a Race Map?
A race map is an informed prediction, not a guarantee. Horses can miss the start, tactics can change and early pressure can develop differently from expectations.
Its value lies in identifying likely positions, tactical options and potential risks before the race.
Why Does Racing Pace Matter So Much?
Tempo affects how much energy horses spend and when they spend it. A slow race can make it difficult for backmarkers to catch runners that have conserved energy, while stronger early pressure may create opportunities for horses behind the speed.
The effect depends on the individual horse, its position and the broader race conditions.
Is an Inside Barrier Always an Advantage?
No. An inside gate can save ground, but a horse without enough early speed may be crossed, buried or left needing clear running.
We assess the barrier in relation to the horse’s racing pattern, the surrounding speed and the track layout.
Should a Wide Barrier Make Me Rule a Horse Out?
Not automatically. A horse with tactical speed may be able to cross or find cover without using excessive energy, while another runner may be expected to settle back regardless of its draw.
The key question is what the horse may need to do to reach a suitable position.
What Is the Difference Between a Race Map and a Speed Map?
A race map focuses on where runners are likely to settle across the field. A speed map places more emphasis on the early tempo, including which horses may lead, push forward or create pressure.
They overlap because field position and pace are closely connected.
What Should I Check After Reading a Horse Racing Form Guide?
Look beyond the finishing position. Assess the horse’s racing pattern, barrier, surrounding speed, likely settling position, expected tempo, track conditions and the circumstances behind its recent performances.
Then consider whether today’s setup is likely to suit the horse and whether the available price reflects the risks.
Does a Favourable Race Map Mean I Should Bet?
No. A favourable map is one part of the assessment. Ability, distance, conditions, fitness, opposition and price still matter.
A good setup can improve a horse’s chance, but it does not make the horse value at any price. There is no need to bet when the analysis does not support an opportunity.
Recent Posts
25 September, 2026
Why Strong Horse Racing Form Can Still Be a Bad Bet
21 September, 2026
Betting Tips: How to Tell a Form Based Opinion From a Guess