
How to Read Barrier Draws and Race Maps in Horse Racing
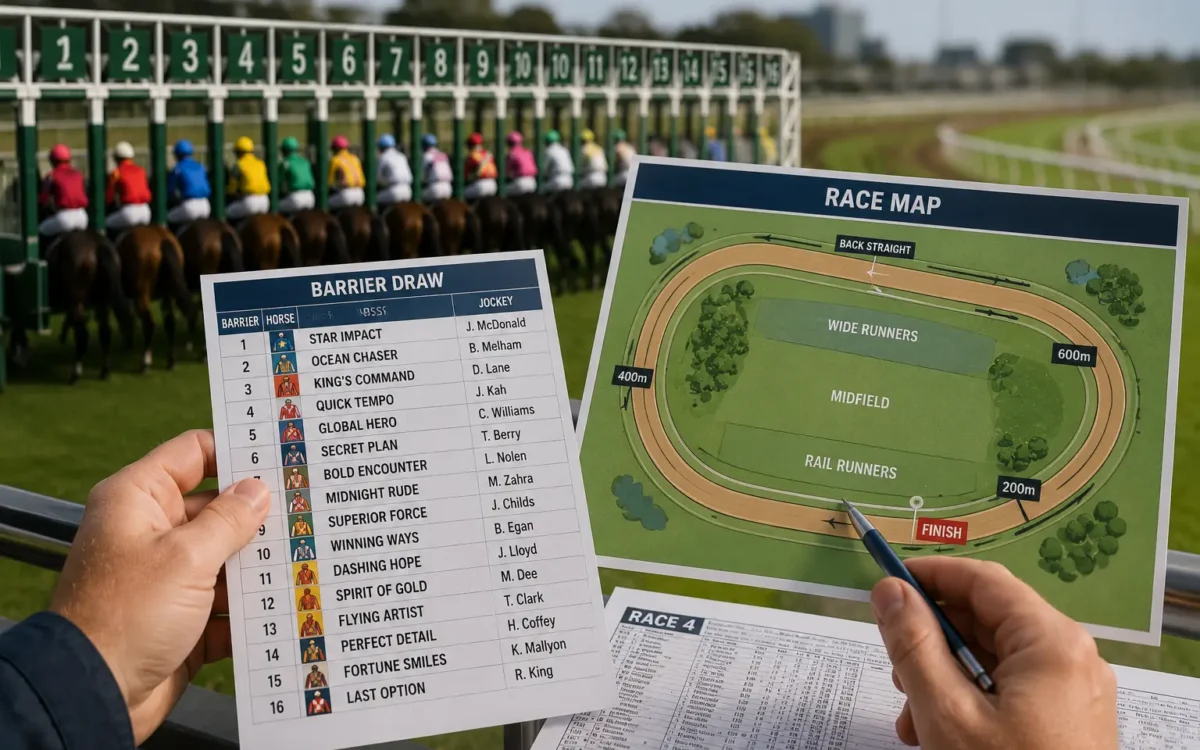
Most punters make one of two mistakes with barrier draws.
They either give them too much importance or ignore them completely.
Neither approach is useful.
A barrier draw is not a shortcut to finding the winner. A race map is not a guarantee of how the race will unfold. Both are useful only when you understand what they suggest about field position, early pressure and the amount of work a horse may need to do.
The key question is not whether a horse has drawn well or badly. It is whether that horse can reach a suitable position without using too much energy, getting trapped or relying on luck.
That is how a barrier draw in horse racing should be assessed.
What a Barrier Draw Actually Tells You
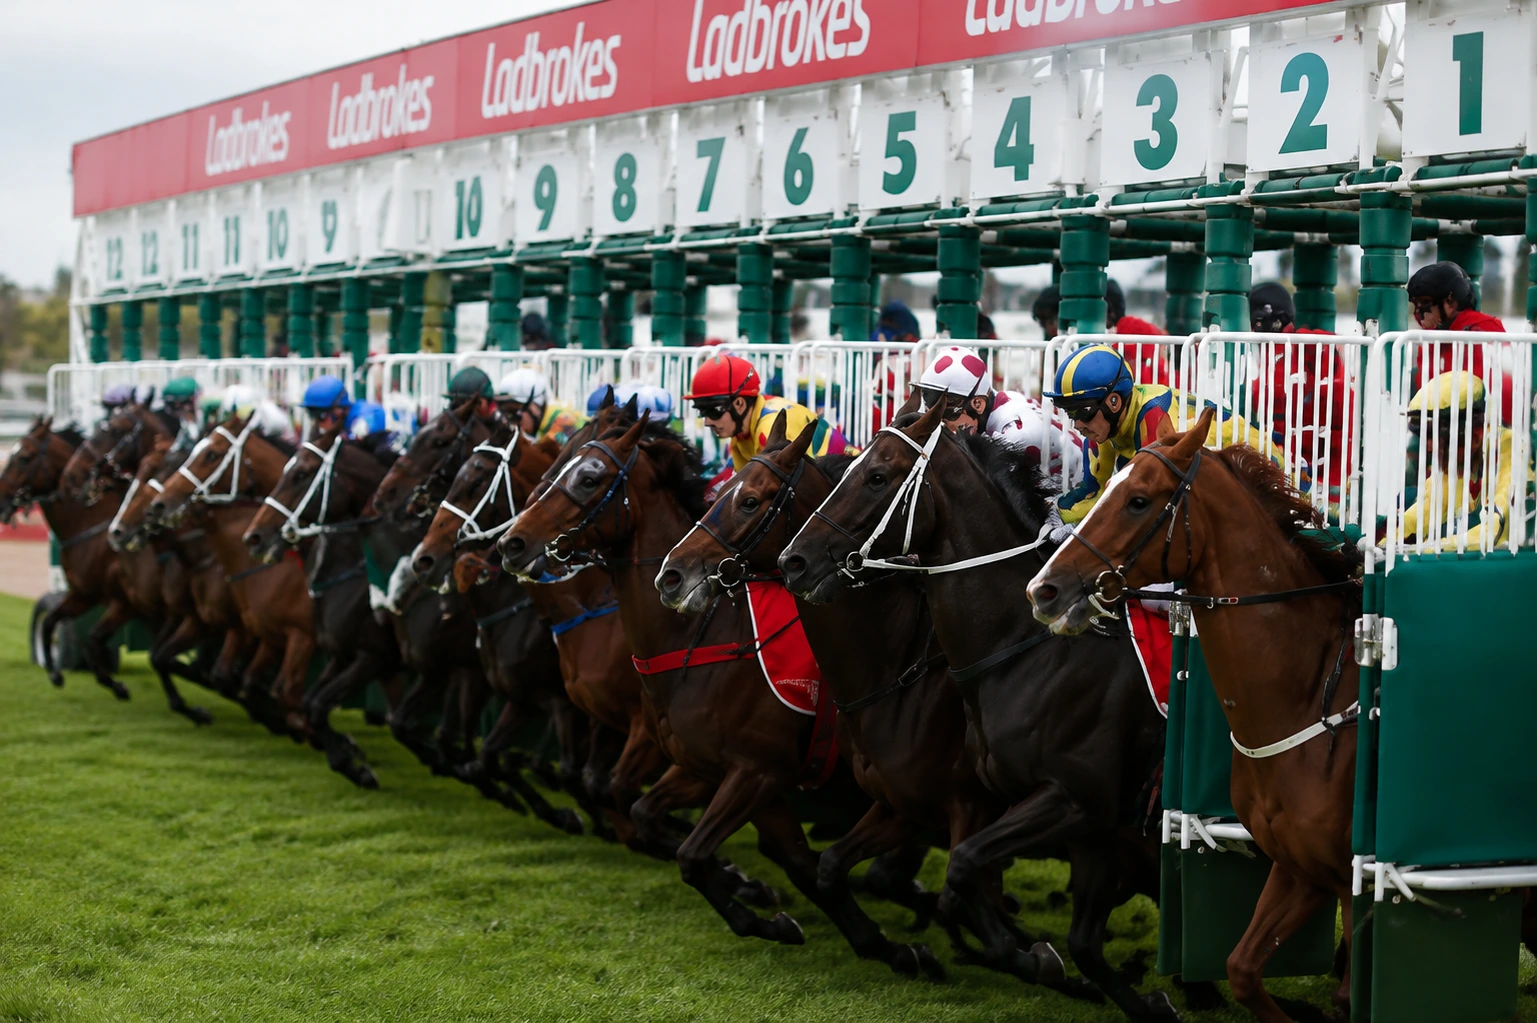
A barrier draw tells you where a horse starts.
Australian thoroughbred racing includes thousands of races each year across a wide range of tracks, distances and field sizes. Racing Australia’s industry data highlights the scale of the racing calendar, which is why analysing factors such as barriers, pace, field position and race shape remains an important part of form assessment.
It does not tell you where the horse will settle. It cannot confirm whether the horse will begin cleanly, hold its position, get crossed, find cover or be forced to work early.
That is why barrier 1 is not always an advantage.
A horse drawn inside may save ground, but it can also become buried on the rail, shuffled back or trapped behind slower runners. If it lacks early speed or needs clear running room, the inside draw may create more problems than it solves.
The same principle applies to wide barriers.
A wide draw can be costly if a horse has to work hard to cross the field or races without cover. It may be less damaging when the horse has early speed, tactical flexibility or enough time before the first turn to find a position.
The draw shapes the horse’s early options. It does not decide the race on its own.
How a Race Map Predicts Field Position
A race map is a prediction of how the field may settle after the start.
It usually identifies:
- the likely leader
- horses expected to race on the pace
- midfield runners
- backmarkers
- runners at risk of being caught wide
- horses that may become buried on the rail
A speed map focuses more closely on the early stages of the race. It estimates which horses are likely to push forward, hold an inside position or settle back.
This matters because field position affects how much energy a horse uses and what tactical options remain available later in the race.
A horse that finds cover in a comfortable position may conserve energy and build momentum at the right time. A horse caught wide may cover extra ground. A runner trapped behind other horses may save ground but need luck when the pace increases.
A race map does not need to predict every position perfectly. Its value comes from identifying the most likely scenarios, pressure points and risks before you bet.
Why Tempo Changes the Value of a Barrier Draw
A barrier cannot be judged properly without considering tempo.
Tempo describes how quickly the race is likely to be run, particularly through the early and middle stages.
In a slowly run race, horses near the lead may control the contest and conserve energy. Runners settling well back may struggle to make up ground when the field begins to sprint.
In a strongly run race, leaders may face more pressure and use extra energy early. This may create an opportunity for horses settling behind them, although their position and ability to respond still matter.
The same barrier can therefore be helpful in one race and difficult in another.
A low draw may help a horse hold a favourable position in a slowly run race. In a race with several horses pushing forward, the same runner could be crossed, crowded or forced to defend its position.
A wide gate may be awkward when the pace is slow and there is no easy path forward. If the field spreads out earlier, the rider may have more options to find cover.
A race map without a view on tempo is incomplete.
When an Inside Barrier Helps or Hurts
Inside barriers can be valuable when they allow a horse to hold a suitable position without spending much energy.
They may help when:
- there is a short run to the first turn
- the horse has enough early speed to hold its position
- the horse races best near the lead
- the likely leader is drawn nearby
- the rider can secure cover without being shuffled back
An inside draw may also reduce the amount of ground a horse covers around bends.
That advantage matters only when the horse has enough room and tactical speed to use it.
An inside barrier may become a problem when the horse lacks early speed or needs space to build momentum.
Common risks include:
- being crossed by faster horses
- settling further back than expected
- becoming trapped behind slower runners
- losing momentum while waiting for a gap
- relying on luck at a critical stage
Barrier 1 should never be treated as an automatic positive. The horse’s racing pattern and the likely pressure around it matter more than the number alone.
When a Wide Barrier Is Manageable
A wide barrier is not automatically a major disadvantage.
It may be manageable when:
- the horse has enough early speed to cross
- there is time before the first turn to find a position
- the rider can secure cover without using too much energy
- the horse performs better away from traffic
- the field appears to lack early speed
- the horse is likely to settle back regardless of the draw
Some horses may be more comfortable building momentum in open space than racing inside other runners.
The key question is how much energy the horse may need to spend and whether it can still reach a suitable position.
| Barrier scenario | Possible advantage | Possible risk |
| Inside draw with early speed | Can hold position and save ground | May face pressure from runners crossing |
| Inside draw without early speed | May still save ground | Can become buried or shuffled back |
| Wide draw with early speed | May cross and find a forward position | Could use too much energy early |
| Wide draw without early speed | Can be restrained and kept out of traffic | May settle too far back or race wide |
The table illustrates why the barrier number alone is not enough. The horse’s speed, preferred position and likely workload all affect the value of the draw.
Five Steps for Reading a Race Map Before You Bet
Use this process before deciding whether a barrier helps or hurts a horse.
1. Identify the Horse’s Usual Racing Pattern
Start by checking where the horse normally settles.
Is it a leader, an on-pace runner, a midfield horse or a backmarker?
The horse’s usual pattern gives you a starting point for predicting how it may use the barrier.
2. Find the Early Speed
Identify the horses most likely to push forward from the gates.
Pay particular attention to runners drawn near your selection.
Ask:
- Which horses are likely to lead?
- Which runners may cross from wider barriers?
- Which horses will try to hold an inside position?
- Is there enough early speed to create pressure?
This helps you judge whether your selection is likely to find its preferred position.
3. Predict the Likely Settling Position
Estimate where the horse may land once the field has sorted itself out.
Will it lead, sit outside the leader, find cover, settle midfield or go back?
Also consider the risks.
Could it be caught wide? Could it become buried on the rail? Will it need to spend too much energy to reach its preferred position?
4. Estimate the Tempo
Decide whether the race is likely to be slow, even or strongly run.
A slow tempo often favours horses close to the lead.
A stronger tempo may give midfield runners and backmarkers more opportunity, but they must still be close enough and capable of responding when the pressure increases.
5. Judge the Cost of the Run
Finally, estimate how much energy the horse may need to use.
A runner that works hard early from a wide barrier may have less left late. A horse that finds cover without facing pressure may receive a better run than the barrier number first suggests.
The aim is not to predict every movement perfectly.
It is to identify which horses are likely to receive an efficient run and which may need extra effort, luck or a tactical change.
Common Barrier Draw and Race Map Mistakes
Treating Barrier 1 as an Automatic Advantage
Barrier 1 can save ground, but it can also create traffic problems.
Judge the horse’s speed, racing pattern and likely settling position before treating the inside gate as a positive.
Assuming a Wide Draw Means No Chance
Wide barriers can be difficult, but some horses can cross, find cover or settle back without losing their chance.
The likely run matters more than the barrier number.
Ignoring the Horse’s Natural Racing Pattern
A leader and a backmarker will not use the same barrier in the same way.
Always assess the draw in relation to how the horse usually races.
Ignoring Which Horses May Cross
Do not look only at the barrier numbers.
Estimate which horses are likely to push forward, which may hold their positions and which could be forced to work.
That is where the race map begins to take shape.
Reading the Map Without Considering Tempo
A settling position only has value in relation to the way the race may unfold.
A horse sitting midfield in a strongly run race may receive a suitable run. The same position in a slowly run race may leave it with too much ground to make up.
A Simple Barrier and Race Map Example
Imagine a horse drawn in barrier 2 with moderate early speed.
Three faster horses are drawn outside it and are likely to push forward.
At first glance, barrier 2 appears favourable. However, if the outside runners cross, the horse may be shuffled back along the rail and trapped behind them.
Now consider a horse drawn in barrier 10 with strong early speed.
If the field lacks other likely leaders and the horse has time to find a position, it may cross without spending excessive energy and settle near the lead.
The inside horse has the lower barrier number.
The outside horse may still receive the more efficient run.
This is why the race map matters more than the draw in isolation.
Barrier Draw and Race Map FAQs
What Is a Barrier Draw in Horse Racing?
A barrier draw is the horse’s starting position in the gates. It influences the horse’s early options but does not determine where it will settle.
Why Is Barrier 1 Not Always an Advantage?
Barrier 1 can become a traffic risk. A horse may be crossed, shuffled back or held up behind other runners.
What Is the Difference Between a Race Map and a Speed Map?
A race map predicts where horses may settle across the field. A speed map focuses more closely on the early pace and which runners are likely to lead, push forward or settle back.
How Reliable Are Speed Maps?
Speed maps are predictions rather than guarantees. A horse may begin slowly, a rider may change tactics or unexpected pressure may alter the race shape.
How Does the Run to the First Turn Affect Barriers?
A shorter run to the first turn can make wide barriers more difficult because horses have less time to find a suitable position. More time before the turn may give riders additional options.
How to Use Barrier Draws in Your Race Analysis
A barrier draw becomes useful when you connect it to the likely shape of the race.
Start with the horse’s usual racing pattern. Identify the early speed around it and estimate where it may settle. Consider whether it can find cover, how much energy it may use and whether the expected tempo is likely to suit its position.
This process will not predict every tactical decision. It can, however, help you distinguish between a genuinely difficult draw and one that merely looks unfavourable on paper.
For a broader view of race analysis, read our guide to analysing horse racing form.
You can also explore Jig Racing for practical race-analysis tools and information designed to support your form assessment.
Recent Posts

21 August, 2026
Piranha Media 20/8/26